
Chapter 11: Curating Your Dataset with Selecting Features
Up to now we have added datasets which include information beyond our study area. As you refine your geospatial data an essential first step is to select the features that you want to use and remove the rest. In this chapter we will learn to manually select features, select by expression querying the layer’s attribute table, and by select by comparing the location of features in one layer to the location of features in another layer. It’s important to note, that selecting by location is a time that projection matters. We want to ensure that our datasets are using the same CRS before we try to compare them.
Step 1: Manual Selection
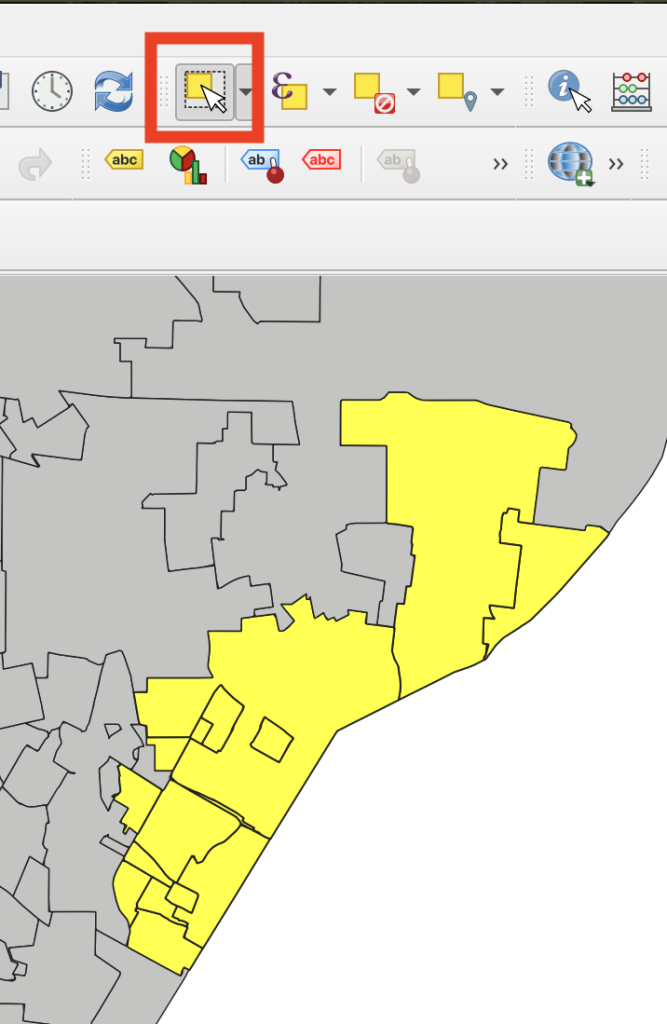
In the case of manual selection, you are likely only selecting a few features or a rough area of features. There are several useful tools for creating selections.
- Turn off all layers except the stlco_muni_bdy layer
- Select features: this is the most basic of these tools. It allows you to click and select a single feature. If you click control (Windows) or command (Mac) you can select several features drag and select a group of features
- Deselect Features: this allows you to clear the selection
- Select Features by Polygon: this tool allows you to draw a polygon by clicking to add vertices. When finished you can right click to create the selection.
- Select Features by Freehand: this tool lets you draw a shape on the layer and create the selection when you release the curser.
- Select Features by Radius: this tool allows you to click into the layer to create a starting point and drag a radius to create the selection when you let go of the curser.
- Invert Selection: this tool allows you to select all the features previously not selected.
Step 2: Select polygons
Select the polygons at the St. Louis City Boarder, except the top and bottom (unicorporated) polygons.
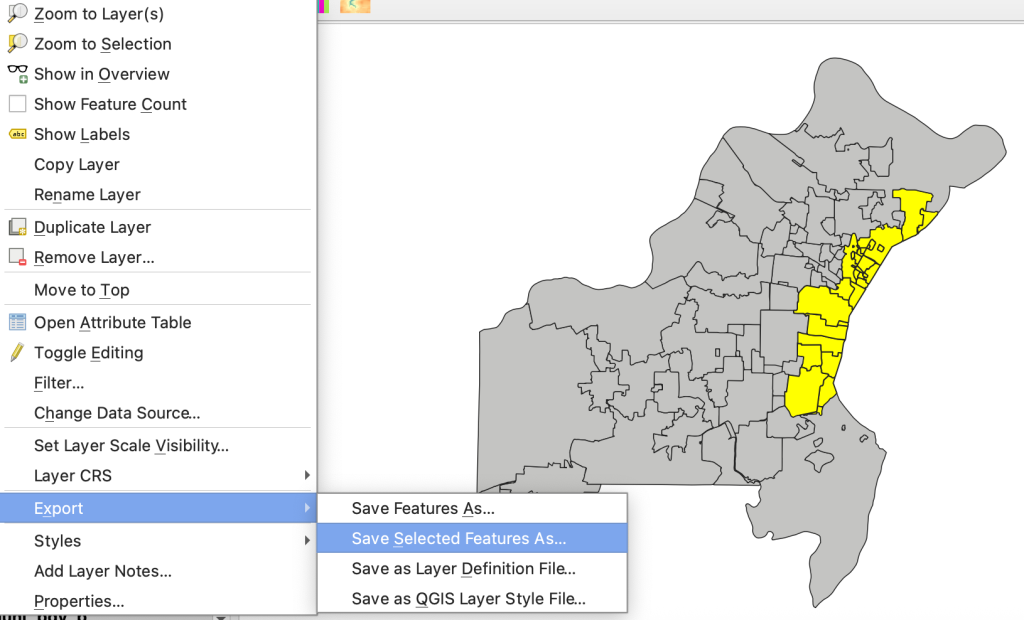
Export that selection to innerring_muni, using the same crs: ESRI:102696 – NAD_StatePlane_Missouri_East_FIPS_2401_Feet
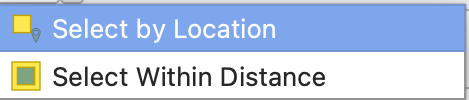
Step 3: Select by location
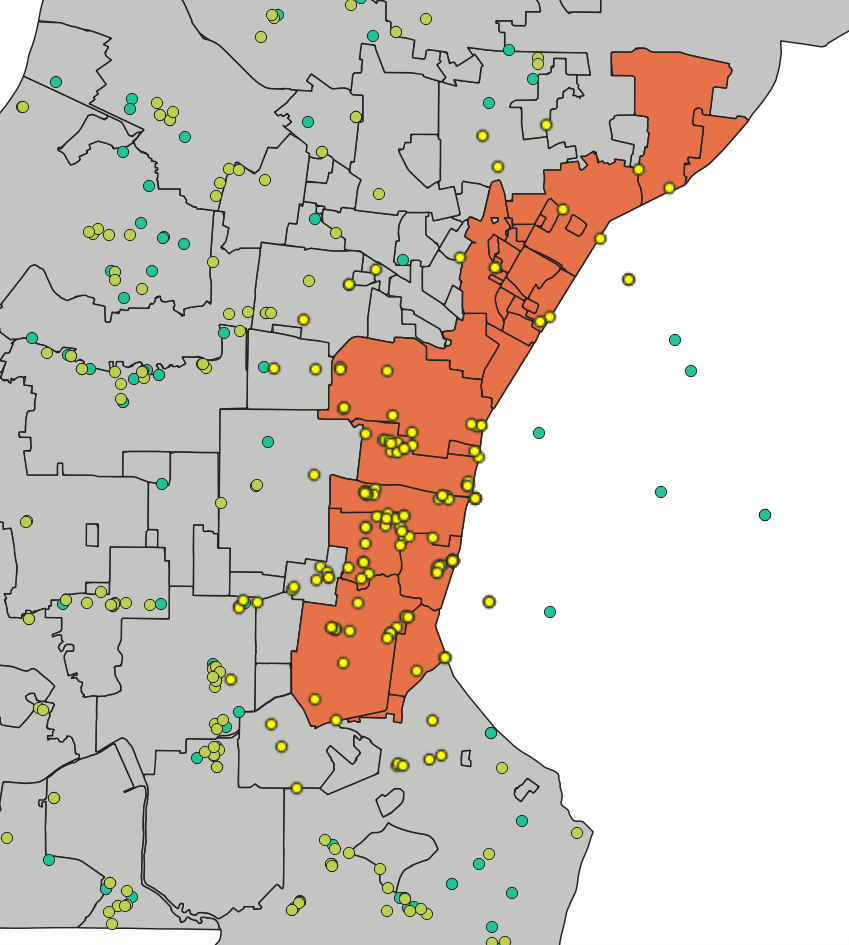
Now that we have our innerring_muni layer selected, we will use it to narrow our study area.
3a. Turn on the tl_2010_29189_tract10_p layer
We’re going to select from the innering_muni features to select inner ring tracts
- Use the select by location tool
- Select layers from: the tl_2010_29189_tract10_p
- Where the features: intersect
- By comparing the features from: innerring_muni
- Modify by creating a new selection
3b. Remove the tracts that fall too far outside the inner ring
Using select by location, intersect, sometimes features that intersect in one small area or share a boundary with, might be included. We must manually deselect those.
- Click and hold the command/control key
- Select the polygons that are not wanted
3c. Export the layer
- Save this to your file structure
- File name: innerring_tracts_2010
- CRS: ESRI:102696 – NAD_StatePlane_Missouri_East_FIPS_2401_Feet
- Encoding: save only selected features.
- Turn off the tl_2010_29189_tract10_p layer
3d. Turn on the stlco_parcels layer
- Use the select by location tool
- Select layers from: the stlco_parcels
- Where the features: are within
- By comparing the features from: innerring_muni
- Modify by: creating a new selection
3e. Export the layer
- Save this to your file structure
- File name: innerring_parcels
- CRS: ESRI:102696 – NAD_StatePlane_Missouri_East_FIPS_2401_Feet
- Encoding: save only selected features.
- Turn off the stlco_parcels layer
3f. Repeat 3e for other layers

- MO_2013_Public_Schools_p (within)
- MO_2018_Sinkholes_p (within a distatance, 2 miles)
- MetroLink_Sations (intersect)
- FEMA_Floodways (intersect, manually removing anything that falls so far outside the inner ring)
3g. Export each of these layers as we have done before
4. Select within a Distance
4a. Turn on the stlco_cafe_juice_ic_p layer
- From the selection menu, click select within a distance
- Select layers from: the stlco_cafe_juice_ic_p
- By comparing the features from: innerring_muni
- Where the features are within: 1.5 miles
- Modify by: creating a new selection
4b. Turn on the stlco_bakerier_p layer
- From the selection menu, click select within a distance
- Select layers from: the stlco_bakeries_p
- By comparing the features from: innerring_muni
- Where the features are within: 1.5 miles
- Modify by: adding to the current selection
Step 5: Select by Attribute
We can use select by attribute to identify features based on a defined value. We do this by making a database query. Database queries are often executed using standard query language (SQL) expressions. We’ll start by defining a question: Which parcels are zoned for residential use?
5a. Find the column which contains the values
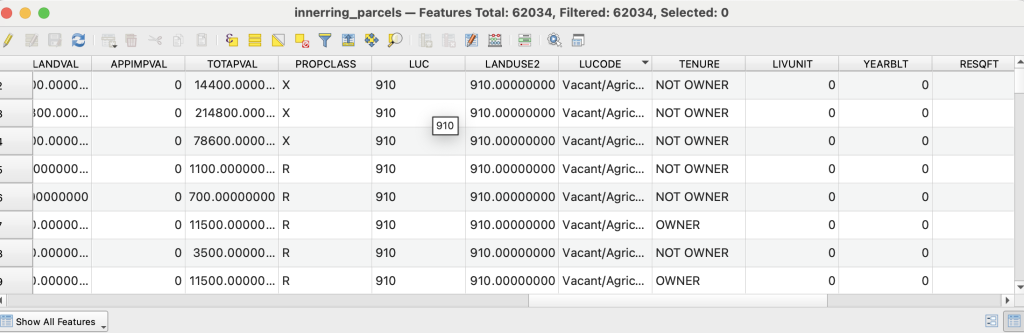
- Right click on innerring_parcels
- Look for a variable that describes parcel uses
- There is more than one possibility, but we will use LUCODE
5b. Create an expression
Field name: LUCODE
Operator: = (equals)
Value: Single Family
Syntax
Another very important thing is that the syntax must be correct. Syntax is necessary to define the query structure.
-
- The field name requires “quotes”
- requires an operator (e.g. =) between the field and the value
- values should be in single ‘quotes’ unless it’s numeric (e.g., integer or double)
- the case of the letter has to match the fields and values.
This the expression is: “LUCODE” = ‘Single Family’
In QGIS, we can build this express by:
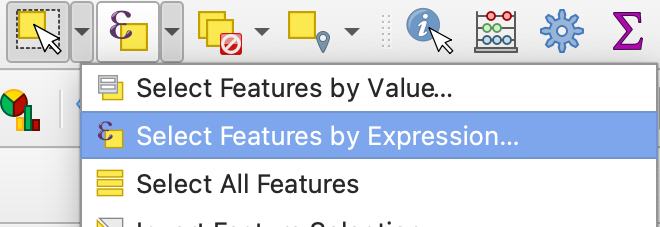
- Going to select features by expression
- An expression will start building in the left window
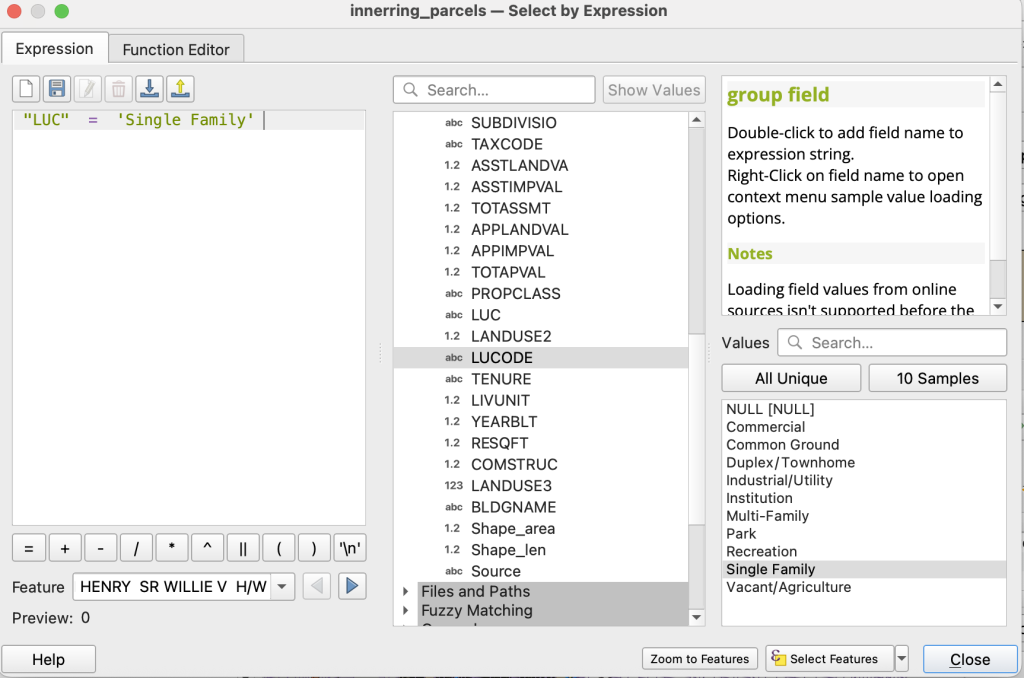
Screenshot of LUCODE expression in QGIS - In the feature geometry pane,
- Field: Under the feature geometry pane, expand fields and values
- double click LUCODE, an expression begins building in the left pane
- Operator: You can do one of these, they do the same thing
- Type: =
- expand the operators list in the feature geometry pane and select: =
- oSelect: = button at the bottom of the tool
- Values: In the lower right window, click Unique Values, which will list all the unique values for the LUCODE field; choose Single Family.
- Field: Under the feature geometry pane, expand fields and values
- The tool will check your syntax
- Once you click select features, the tool will provide a count of selected values
We’ll export these features by right clicking on the layer
- Save it in your directory
- File name: innerring_sf_parcels
- CRS: ESRI 102696 – NAD_StatePlane_Missouri_East_FIPS_2401_Feet
- Save only selected features.
